
Traditional shoots carry a quiet assumption that problems can be fixed in post. On an LED volume the image is finished in camera, so the fixing moves to pre-production. That is a good trade, as long as the decisions get made on time. This is the list we walk through with teams who are new to the stage.
1. Lock the boards and the shot list
Environments are built for specific camera positions. A shot list tells the 3D team which direction the camera looks, how wide the lens is and what has to be in frame. Vague boards produce environments that are detailed where nobody looks and thin where the camera ends up.
2. Decide what is physical and what is on the wall
Anything the talent touches should be real: the floor they stand on, the chair, the car, the counter. The wall carries everything beyond arm's reach. Draw that line early, because the art department and the 3D team both build from it, and their work has to meet in the middle.
3. Review environments on the wall, not on a laptop
An environment that looks right on a monitor can read differently at full scale through a lens. Colour, scale and brightness only show their true behaviour on the LED wall with the shooting camera pointed at it. Plan at least one review on the stage before the shoot, with time left to act on the notes.
4. Run a camera test
Bring the camera body and lenses you will shoot with, or tell the stage exactly what they are. The test checks tracking, lens calibration, the colour pipeline from wall to sensor and how close you can focus to the wall before moiré appears. Changing the camera package after this point means running the test again.
5. Plan the lighting with the wall in mind
The wall is a large soft light source that already matches the scene. It does not replace a key light. Hard sun, punchy highlights and anything that needs a sharp shadow still come from fixtures on the stage. Give the gaffer the environments ahead of time so the sun on the wall and the sun on the talent come from the same direction.
6. Build the schedule around environments
Group setups by environment rather than by script order. Switching worlds is usually quick, but each one needs a moment for colour and lighting to be matched again. Fewer switches means more shooting time.
7. Know who makes the call on set
Because the picture is final, approvals happen at the monitor. Agree beforehand who signs off on the background, the colour and the framing, and make sure that person is in the room. A decision deferred to later on a volume shoot usually turns into a visual effects shot.
What to send the stage a week ahead
Final boards and shot list, with lens sizes where you have them
Camera body, lenses, frame rate and delivery format
Set and prop plans with dimensions
References for time of day and mood for each environment
The name of the person who approves the image on the day
Planning your first volume shoot? Send the boards to wlab@wlab.tech and we will go through this list with you.
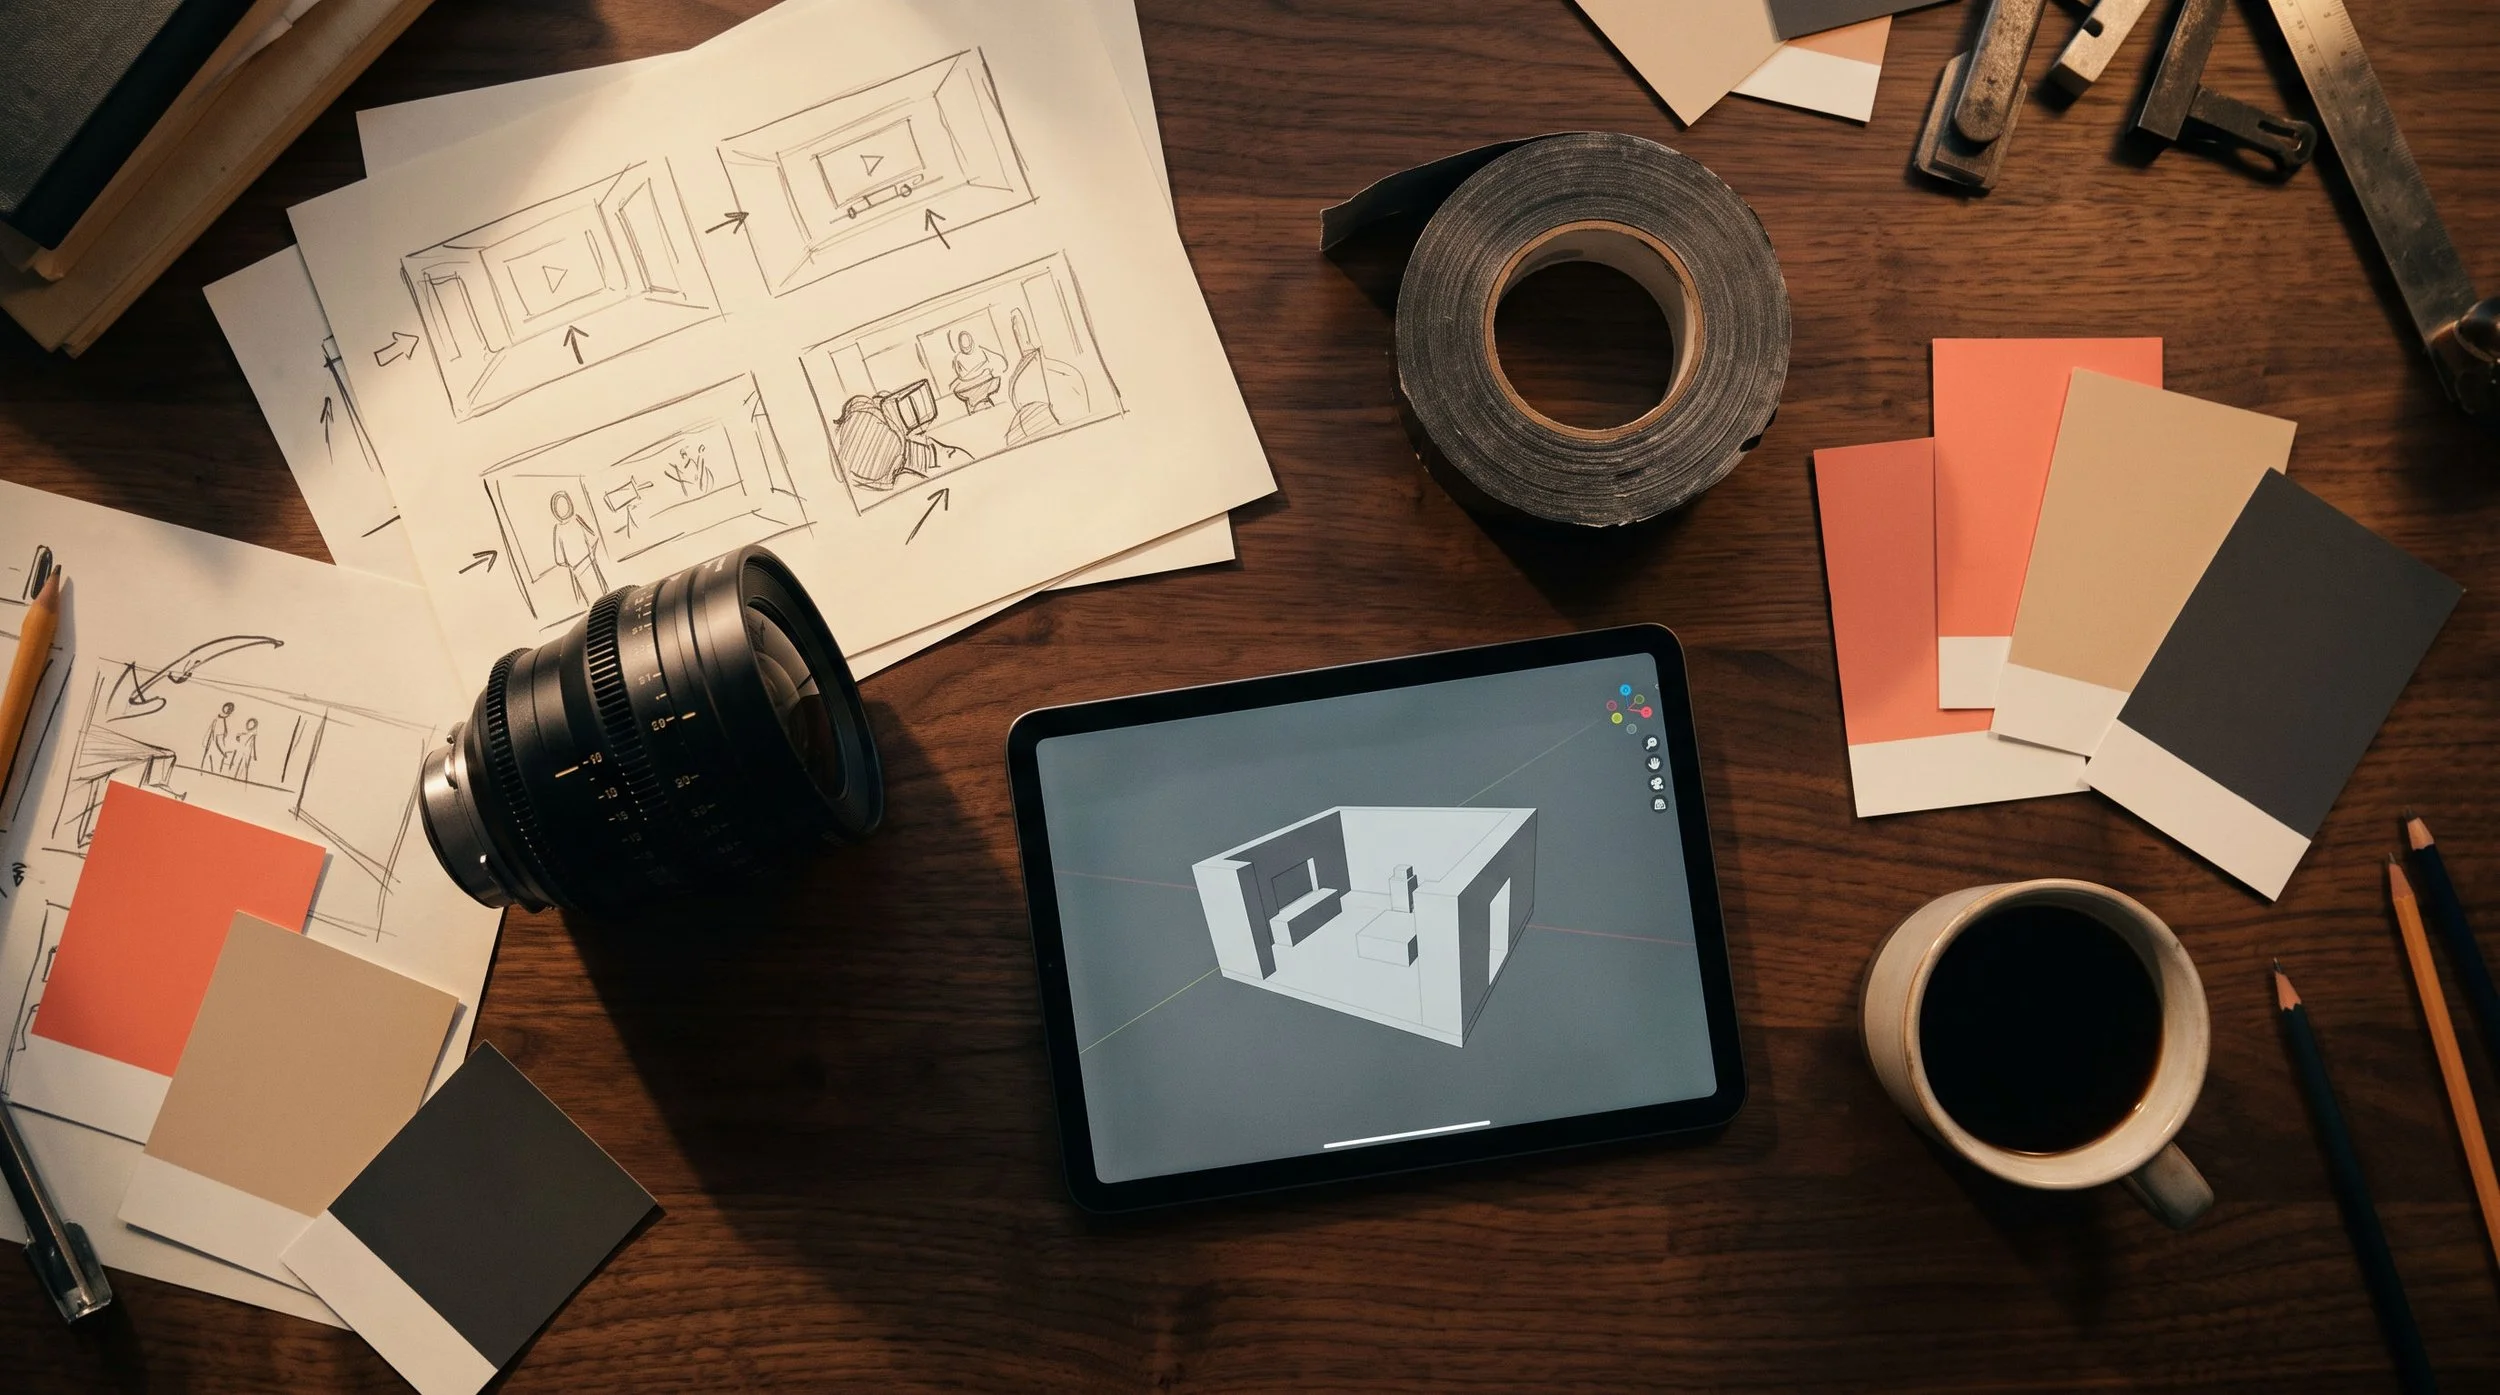
Cover image: an illustration generated for this article, not a photograph of a WLAB shoot.
